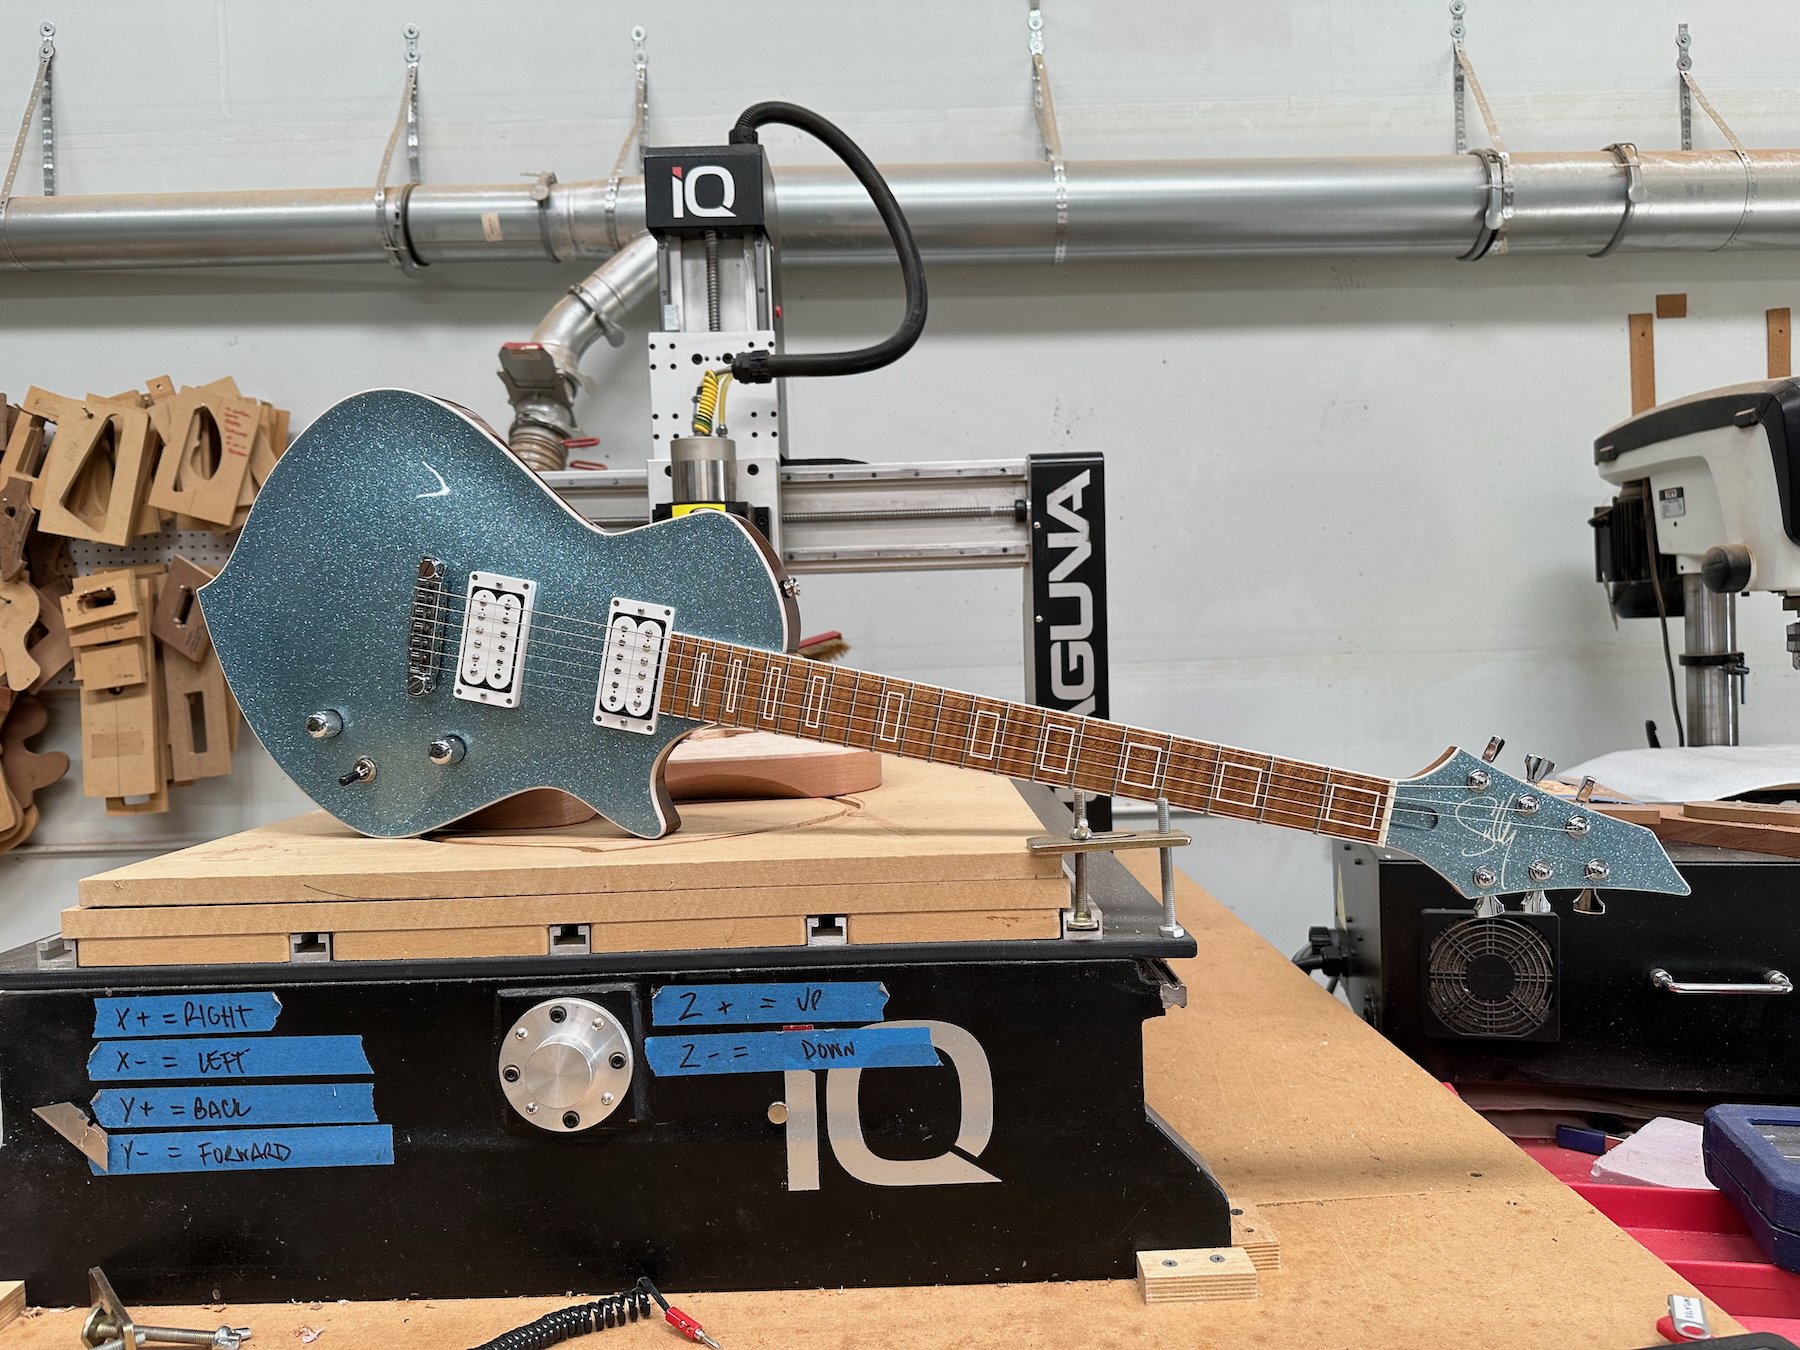
Neck angles on a neck through guitar

Hi, I had a few questions regarding necks and fingerboards, I hope to build my own guitar in the future and would like to know, on the neck through body guitars that you built, did you angle the neck, or keep the neck flat with the body? if you kept the neck flat with the body did you have the neck raised up slightly from the body?

 Hey there,

As with any other guitar, neck angles should be considered with neck through construction. Some bridge types require no angle (like a strat style trem, or a recessed Floyd, for example), whle Tune o Matic bridges, non-recessed Floyds, Kahlers (::shudders::) will require an angle to be taken into consideration. You can achieve this by putting the angle into the neck portion or into the body. Up to you.  However, if you’re installing a bridge that doesn’t require an angle, you’ll still most likely need some kind of drop from the neck to the body. Take a strat style trem or a recessed Floyd; you’ll need to have the body roughly 3/8” from the top of the fretboard at it’s highest point. In other words, if you’ve got a fretboard that’s ¼” thick at the high point of the radius, you’ll need to rout 1/8” off of the body surface.

Adding binding to a LP Studio...?

First I'm a fan of your videos on YouTube. Thanks for all the info. I want to install body and neck binding on my 1992 Les Paul Studio. Do you have a video out showing the process? If so I can't seem to locate it. This guitar has also has an ebony fret board and will get a refret. (I'm confident about the fret install). Also what size binding would be correct for the neck and body? Any info would help...Thanks for the videos and sharing your knowledge...Look forward to your response...Thanks...Mike

When I did my LP Studio overhaul, I initially was going to bind it, but it really wasn’t worth the trouble. You’ll need a binding jig similar to what you can find on the stewmac site to cut your binding channel on the body, however, you’ll have to do the areas around the neck/body joint by hand with a chisel because you won’t be able to just rout the body without cutting into the neck once you get close enough to the junction. The other thing you have to take into consideration is that you’ll need to cut the rounded edge of the top of the body’s perimeter away completely before adding your binding. You might be able to get away with .060 binding, but the .090 would be more likely (or doing some kind of multi-ply).

 The neck is the other part; you’d need to pull the fret board, remove the frets, cut your binding channel, bind the board, then glue it back on to the neck, and then fret it. It’s pretty involved, for sure. I use the .060 thick binding for fret boards and bodies.

 Once you get all of that sorted, get ready to repaint it. 

Hair care and the luthier (or, Uncle Greg checks in!)

How much conditioner do you use when you know that you are sanding that day?

Now, one might brush this off (seewhatididthere?) as a silly question, but let me make it perfectly clear when I say that it's a very important issue. When working in the shop in the Texas heat, you not only need to make sure that you keep your body hydrated; you must also keep those tresses nice and nourished! Sawdust (or sanding dust) can definitely dry out many a surface, that's why I'll slather on half a tub or so of petroleum jelly, just to keep that glorious mane of mine protected.


Making a body blank

Among other things, a new guitar is in the works for Dee Jay Nelson. I call this one a 624T. That said, here's how you build a body in three easy steps:

 1. Trace your body shape on the blank (to make sure you'll have enough foom for it) and then join the gluing faces so they're nice and flat.

2. Lay on some Titebond wood glue to the gluing faces and clamp, clamp, clamp! Make sure you've got some wax paper underneath to prevent yourself from gluing the blank to your workbench, and make sure that you're applying downward pressure on the body as you're clamping it up. Glue can act as a lubricant and it's not uncommon for the halves to want to move around while you're trying to tighten the clamps. Sometimes it's like trying to wrangle cats.


3. Hydrate.


And that's it!


Thoughts about Robbin Crosby

Thoughts about Robbin Crosby

 A lot of thoughts and feelings rise up today; memories of being a teenager and drooling over that black Jackson V when I saw the Round and Round video for the first time. Reading about Robbin in Guitar for the Practicing Musician magazine and seeing pictures of him and that massive, red King V (which was named after him). Wearing out cassettes and hanging posters of Robbin and RATT on my wall.  Figuring out the little lead break in Lack of Communication and then teaching it to my friend Mark. Cracking up at his sense of humor. Getting the Jackson “Big Red” Tribute guitar project going again.  Good memories. That’s what I choose to focus on.

Read More

Z-poxy + stain?

Sully, I'm loving this Z-Poxy stuff as a grain filler. The answer to a luthier's prayer.
Question: can I stain OVER Z-Poxy? I use analine dyes discolved in alcohol . I will be using two part catalyzed urethane clear as the finial finish.
Thanks so much, 
Brian in Michigan

Hey Brian, 

The Z-poxy is going to act as a sealer, so it's not going to take stain. That said, if you mix your color into clear or untinted base coat, you can spray it on. Since you're already using the catalyzed urethane for clear, just get yourself a quart of untinted base coat; PPG makes one that is DBC 550. That's what I shot the Spanish Cedar Raven's tobacco burst with.

Sully